


For many consumers, eCommerce is a near-perfect method of shopping. No need to leave the house, and the products come to the front door! What's not to love?
For some shoppers, though, there's one advantage in-person retail continues to hold over eCommerce: the ability to see, hold, feel and try on a product before purchase.
Luckily, it's possible to offset this lack through the ample use of great photos and videos across eCommerce sites. This media can communicate fundamental values about your brand, create an aspirational desire in the customer's mind, and enhance content marketing efforts.
While conducting a global retail study, Google found that 85% of shoppers felt product pictures were an important part of choosing a store when making purchases.
eCommerce store owners using the Shopify platform can use images across the entire storefront — and, thanks to the user-friendly interface, adding pictures is easy.
Images may appear throughout the theme, on product pages, blog posts, and even in different marketing apps.
Types of Shopify Images
Shopify uses two primary image types:
1. Proprietary images.
Business owners can upload any photos they've taken in-house.
2. Stock photos.
Shopify provides a fantastic array of images through the Burst platform.
Using Shopify's Free Burst Photos
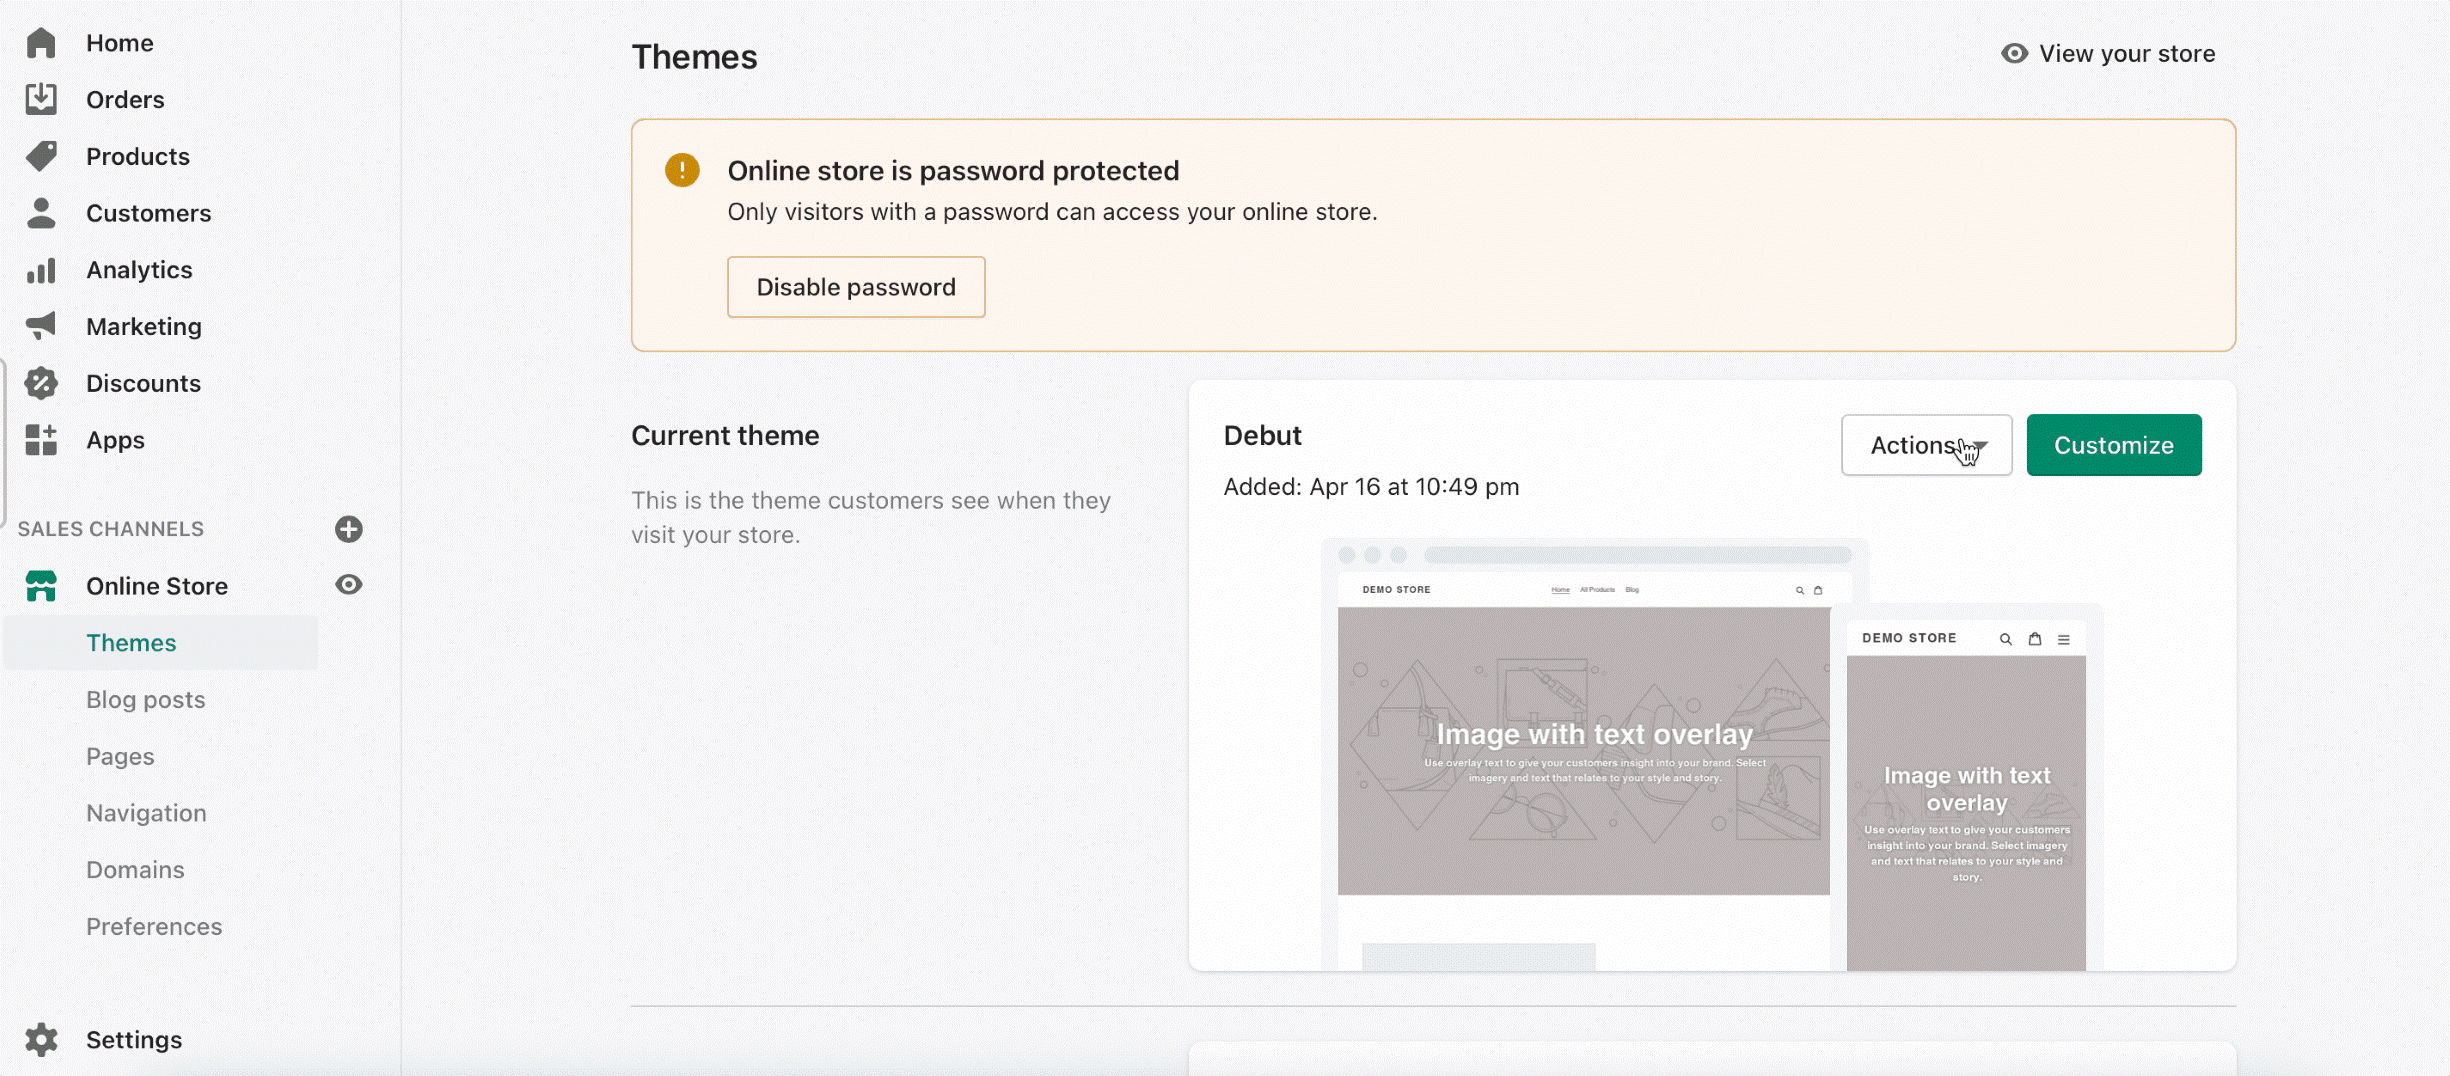
1. Navigate to the Shopify theme customizer by clicking "online store" and "themes" in the sidebar.
2. Click "customize" to begin editing the theme.
3. Select a section or add a new image section to the page.
4. After selecting the section to be updated, click "explore free images" in the sidebar.
5. Search by image type or select from any of the curated libraries displayed by Shopify.
6. Click on the image of your choice to preview in place and click "select" when satisfied.
TIP: Browse Shopify's free photos at any time by visiting the Burst website and downloading your favorites to use later.
How to Upload Images to Shopify
It's simple to add custom images to any Shopify theme sections or product pages.
Adding Shopify Images to Theme Elements

1. Open the Shopify theme customizer.
2. Select a section or add a new image section to the page.
3. After selecting the section to be updated, click "select image" in the sidebar.
4. Select the "library" tab and click "upload."
5. Using your computer's file browser, navigate to the image you'd like to use and click "choose for upload."
Uploading Product Images
1. Click "products" in the sidebar.
2. Select "add a product."
3. Under Media, select "add a file" and choose from files on your computer, or click "add image from URL" if you're using an image stored elsewhere online.
How to Bulk Upload Images to Shopify
1. Click on the shop editor's settings.
2. Choose the "files" menu option.
3. Select "upload files."
You can then select any of your bulk-uploaded photos from the image selector library in the section editor.
Using the Shopify Images Editor
Shopify's photo browser and selector contains a built-in editing tool to make basic product photo adjustments. To access the editor, simply click on the image preview under "media."
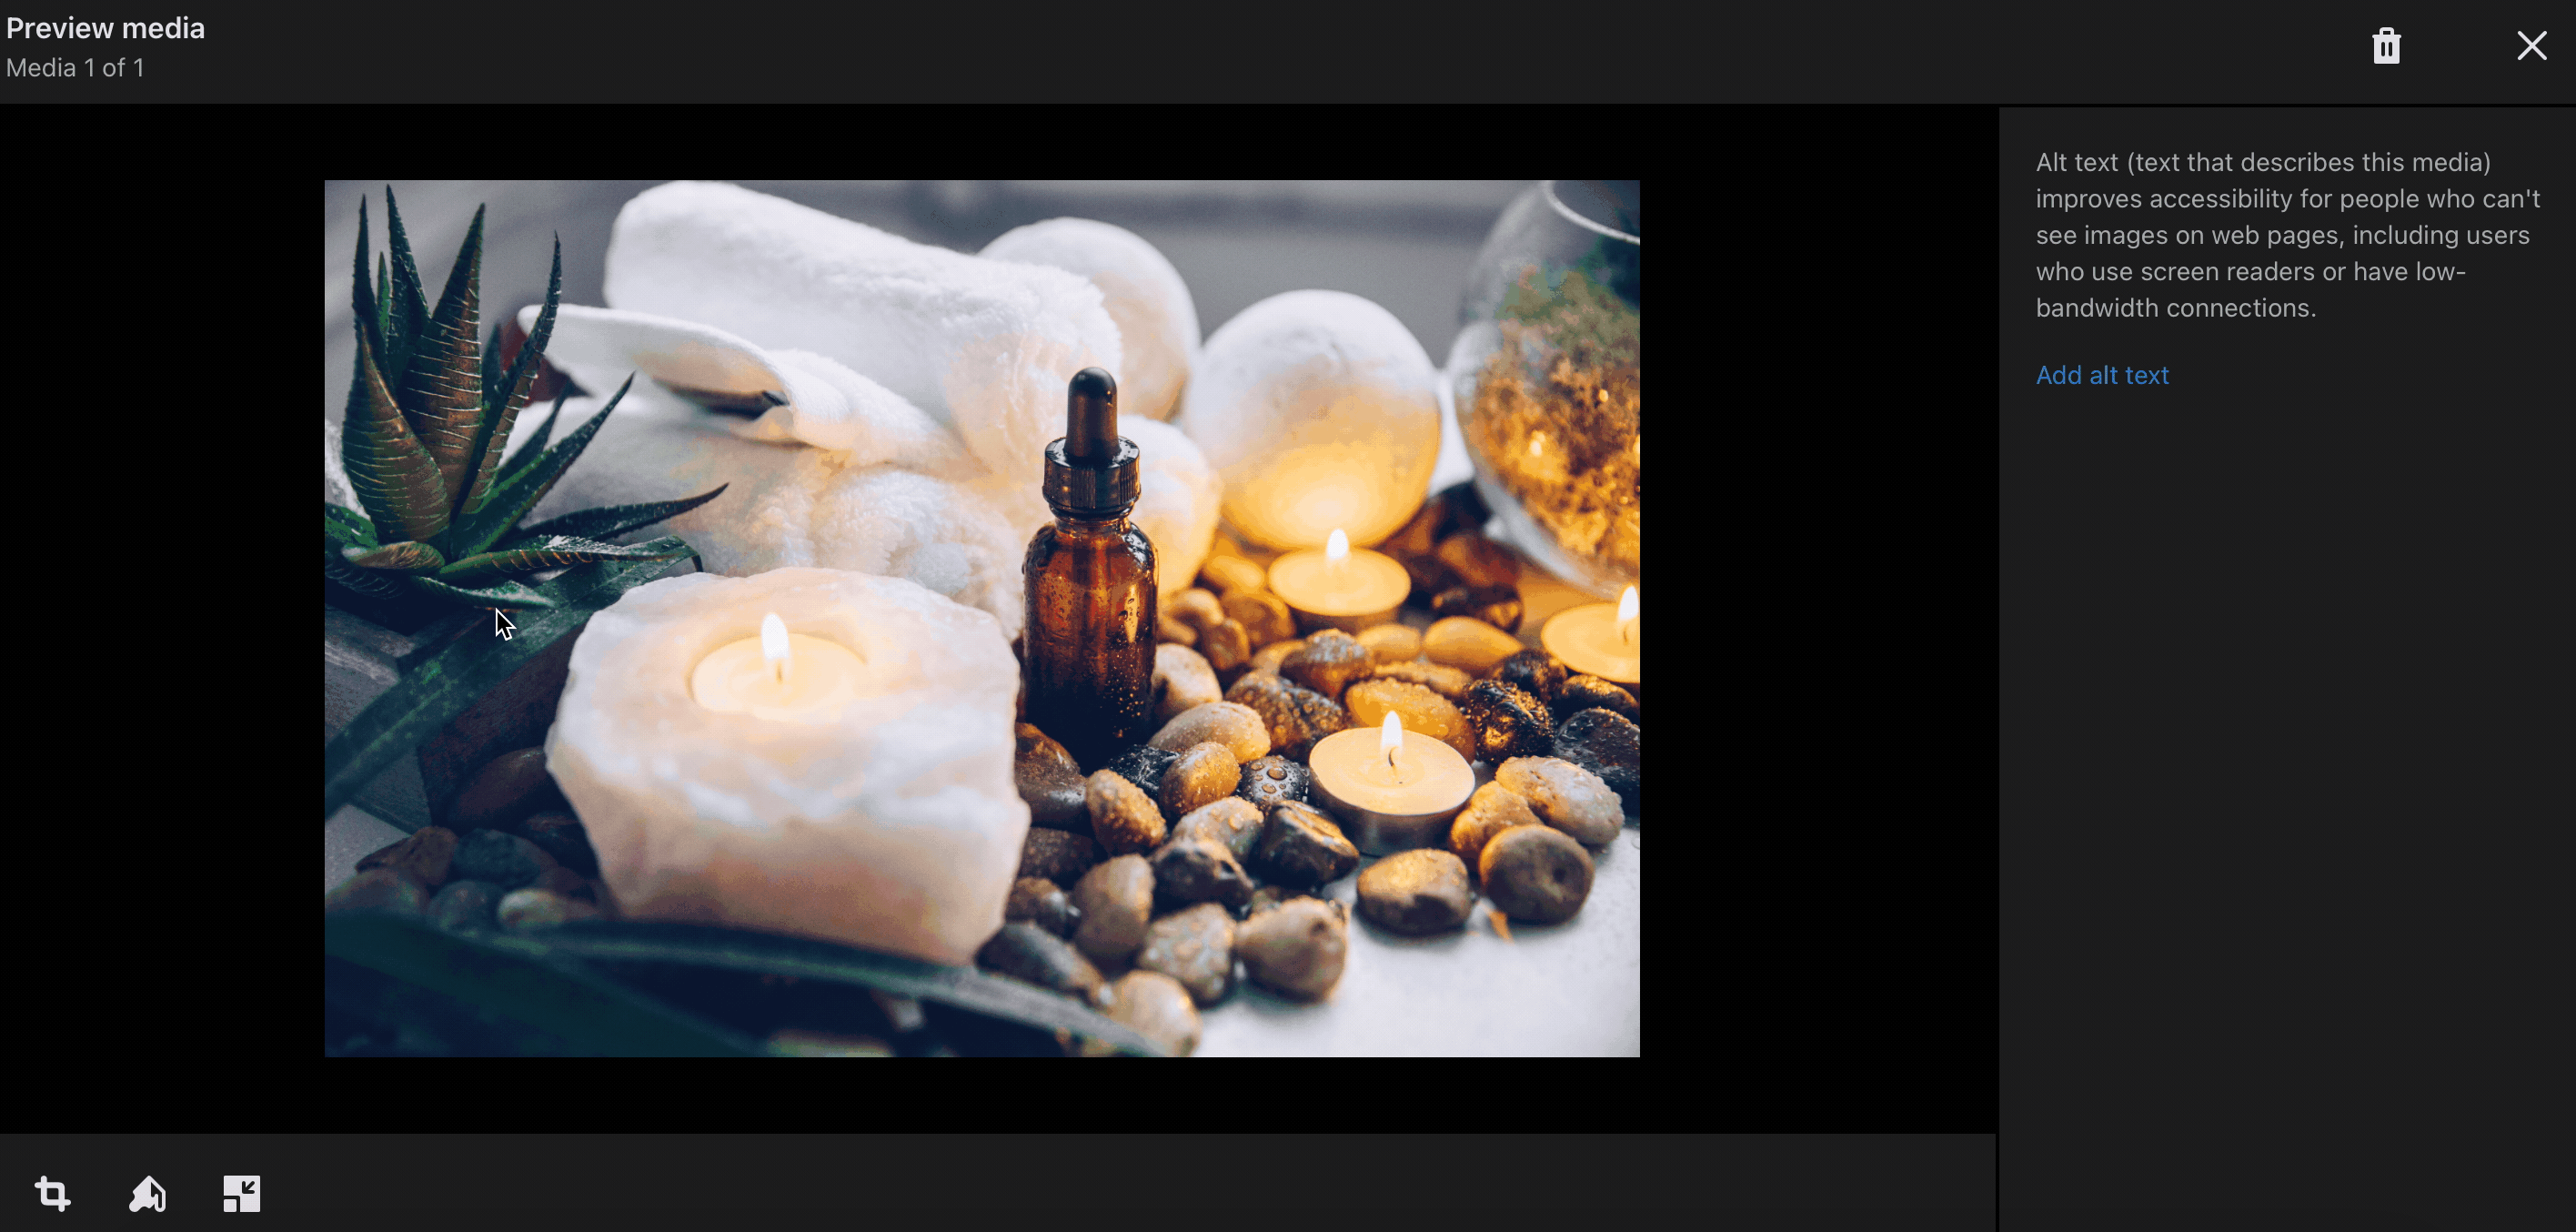
• Cropping Shopify Images: The crop tool is ideal for use if you don't like how your photo looks in the preview or it is uploaded sideways. You can easily adjust its orientation or trim the picture into a square with just a few clicks.
– Freeform cropping will adjust the visible area of the photo to any size.
– Scaled cropping keeps your photo at a pre-set aspect ratio, which is typically better for preserving photo quality.
– Original returns your photo to its initial shape. However, once you click "done" in the crop editor, you will no longer be able to return to the original file unless it is re-uploaded.
• Resizing Shopify Images: While cropping an image will change its shape or cut away the edges, it won't change your photo's overall size. If your picture is too large, use the resize tool to make it smaller while keeping its shape and placement intact.
TIP: Always use the resize tool to make an image smaller, but not larger. Attempting to increase an image's size will distort and blur the pixels, creating a grainy or fuzzy photo that is unappealing to customers.
Shopify Image Sizes
For the best experience when uploading photos to Shopify, keep the following details in mind:
File type: Shopify accepts .jpg, .png, .gif, and .svg files.
File Size: Image files should be 20 MB or less.
Minimum Dimensions: Product photos must be at least 1000 x 1000 for the zoom feature to work.
Maximum Dimensions: Photos should be no larger than 4472 x 4472 pixels.
Resolution: For best results, all web images should be at least 72 DPI.
TIP: If your image file is too large for upload, try compressing it with an online tool like TinyPNG. Attempting to adjust your photo's dimensions and resolution manually can result in distorted, fuzzy images. TinyPNG will compress the file size down while retaining aspect ratios for clarity.
Managing Shopify Images
While the Shopify image library lets multiple users browse uploaded and free content, the previews are small and organization options are limited. Conventional file-sharing software can work to a point, but it is typically designed for text, not image files, making previewing and sorting difficult.
Digital asset management (DAM) platforms can streamline this process and allow for a more targeted approach to selecting, managing, sharing and using your brand content.
When used as an asset manager, Sparkfive lets you connect cloud services, upload files, group by project and more. All file types are supported, meaning you can keep photos, videos, social media posts, finalized graphics, presentations and other documents in one place. You can even grant access to external collaborators — officially ending the days of wading through Dropbox, Drive and local email files looking for a missing deliverable.
Switching to a DAM program doesn't have to be an involved process, either. Sparkfive's white-glove onboarding service will transfer all of your digital assets and set up an organizational system aligned with your preferences. Check it out with a free DAM trial today or contact us for a personalized demo — we'll be happy to answer any questions you have.


